Home > Livelihood Seminar: “A Liter of Light”
Livelihood Seminar: “A LITER of LIGHT”
Posted May 2014
May 2014 - Lighting is one of the key elements that helps make your house a home. The proper lighting
enables you to perform tasks easily, makes you feel safer and more comfortable, and allows you to enjoy
your home at its full potential. But having a continuous electrity price hike in the Philippines, some of the
Filipinos prefer not to turn on the lights in the morning. But how about some part of the house that do not
have enough light? Thus, Papaya Academy, Inc. think of something that can help their parents to use light
at day time but in the same time they can save.
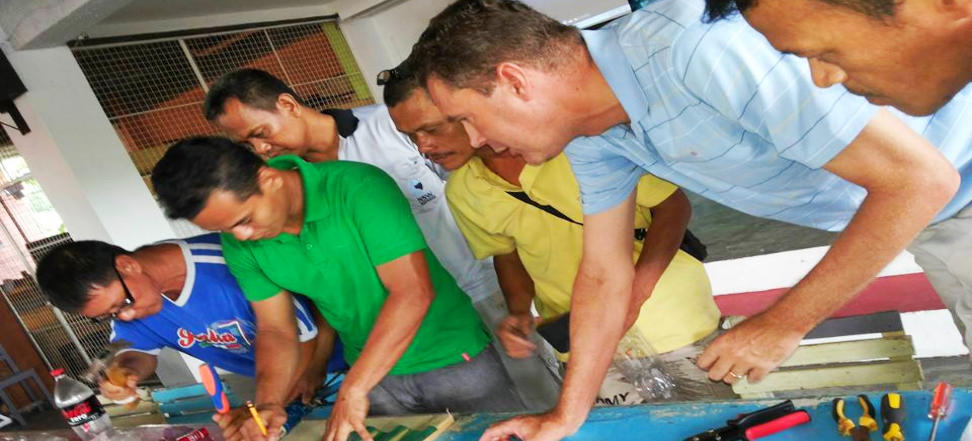
29th of May year as of date Mr. Alwin Tetteroo, one of the volunteers of Papaya Academy conduct a training
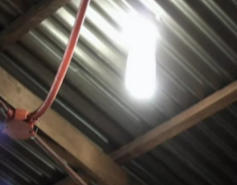
of how to make a home made LIGHT BULB. This alternative
light bulb doesn’t use electricity but it can light your home, this
made possible by reflecting the sun light towards the house. And
for only 30 - 50php, you can make this home made light bulb.
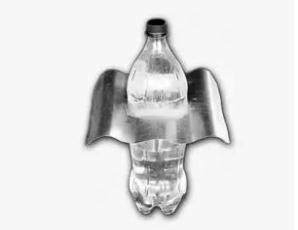
How to make A Liter of Light:
Materials:
*PET soda bottle
*Galvanized Iron (GI) sheet
*Rubber sealant
*Bleach
*Filtered Water
Procedures:
Step 1: Cut approximately 9 x 10 inches of GI sheet
(corrugated or flat)
Step 2: At the center of the GI sheet, draw 2 circles
Step 3: Cut the 1 cm difference radially, making strips
and bend upwards, perpendicular to the GI sheet
Step 4: Using sandpaper, scratch the surface around the
upper third portion of the soda bottle where the GI
sheet will be placed, to allow the rubber sealant to
stick better
Step 5: Insert the bottle into the GI sheet until the upper
third. Apply rubber sealant on the strips above and
around the area below. Wait to dry.
Step 6: Fill the soda bottle with filtered water and ~10 mL
(2 capfuls) of bleach. Cover with its original cap
Step 7: The solar bottle bulb is now ready for installation!
To install on the roof.
Step 8: Cut a hole on the roof, similar to the bottle
circumference
Step 9: Place the solar bottle bulb into the hole. Make sure
it is firmly in place
Step 10: Drill 4 holes on each side of the solar bottle bulb
using Bosch lithium-ion cordless drill and put in the rivets
Step 11: Apply rubber sealant around all edges of the GI
sheet of the solar bottle bulb to avoid leakage. Make sure
to cover the rivets
Step 12: Place a protective plastic tube on the bottle cap and
apply rubber sealant
For Video Tutorial
Please refer to this Link --------->>>>> How to build a Solar Bottle Bulb (Updated 2013)
---------------------------------------------------------------------------------------------------------------------------------
Sources: A Liter of Light (http://aliteroflight.org;)
Wikihow (http://www.wikihow.com/Choose-the-Right-Lighting-for-Each-Room)
Instructibles (http://www.instructables.com/id/How-to-build-a-SOLAR-BOTTLE-BULB/)
Youtube (http://youtu.be/i5YQ4t5apPM)